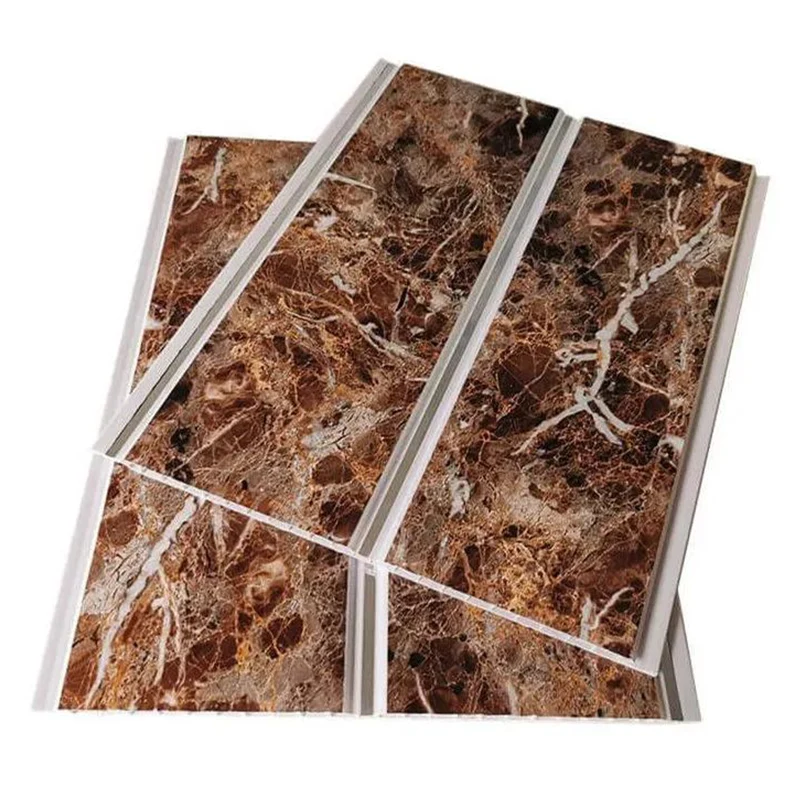
PVC Ceiling Board Installation Steps
2025-06-17
Installing PVC ceiling boards is a practical and cost-effective way to enhance the look of any room. These panels are lightweight, easy to handle, and resistant to moisture, making them especially suitable for bathrooms, kitchens, and basements. While professional installation is always an option, many homeowners find the process simple enough to do on their own. Here's a straightforward guide on how to install PVC ceiling boards, explained in plain, everyday language.
1. Get Your Tools and Materials Ready
Before doing anything, gather all the tools you’ll need. These usually include a measuring tape, pencil, level, utility knife, screws, drill, and possibly a saw. You’ll also need the PVC ceiling panels themselves, adhesive (optional), and ceiling strips or battens for mounting.
2. Measure and Plan
Take careful measurements of your ceiling. Sketch out a basic plan for how the panels will be laid. PVC panels usually run in one direction, so decide whether they’ll run across the room or along it. Planning helps you minimize waste and ensures a balanced look, especially around the edges.
3. Install the Battens or Mounting Frame
You’ll need to create a frame or support base where the panels can be fixed. This is usually done with wooden or metal battens fixed to the ceiling in a grid pattern. Battens should be spaced about 16 to 20 inches apart. Use a level to make sure everything is even — a crooked frame means a crooked ceiling.
4. Start with the First Panel
Cut your first panel to the correct length using a fine-toothed saw or utility knife. Fit it into place, making sure the tongue edge is facing outwards so the next panel can lock into it. Screw or staple the panel into the batten through the flange (the part that gets covered by the next panel).

5. Continue Panel by Panel
Add the next panel by sliding the tongue into the groove of the previous one. Secure it with screws as before. Work your way across the ceiling, checking for alignment as you go. If the panels aren’t lining up evenly, stop and fix the issue before continuing — mistakes can become more obvious over time.
6. Trim Around Lights or Fixtures
If you have ceiling lights, fans, or vents, measure carefully and cut openings in the PVC panels to fit around them. This can be done with a utility knife or hole saw. Take your time to get clean edges so the finished ceiling looks neat.
7. Finish with Edge Trim
Once all panels are installed, add trim around the edges of the ceiling to hide any gaps or rough cuts. PVC trims are available that match the panels and complete the clean look. Secure these with adhesive or small finishing nails.
8. Final Check
Wipe down the surface to remove dust or fingerprints. Step back and make sure everything looks straight and smooth. The ceiling should look seamless, with no obvious joints or gaps.
PVC ceiling boards are one of those DIY-friendly materials that deliver a polished result without requiring professional-level skills. With some planning, a few tools, and a bit of patience, you can transform your ceiling in just a day or two.
As a professional manufacturer and supplier, we provide high-quality products. If you are interested in our products or have any questions, please feel free to contact us.