

Injection molding process of Disposable Paint Cup System
2025-06-16
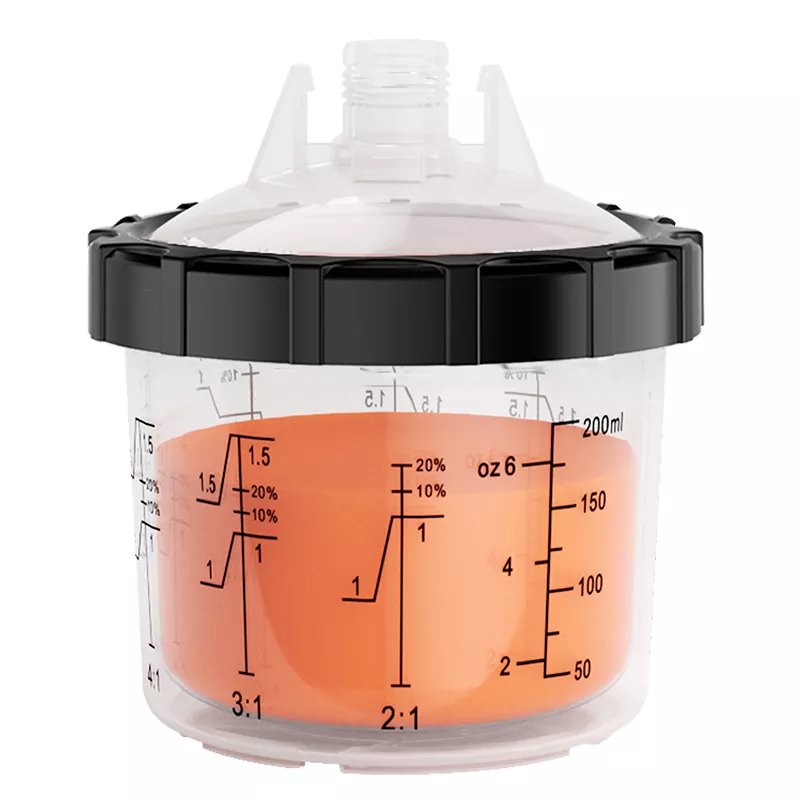
The injection molding process for a Disposable Paint Cup System involves several key steps to produce components like the cup, lid, liner, and adapter ring (if applicable). These components are typically made from plastics such as polypropylene (PP) or high-density polyethylene (HDPE) for chemical resistance and structural integrity. Here's a breakdown of the process:
1. Mold Design
Multiple Cavities: Designed for high-volume production (e.g., 4–16 cavities per mold).
Precision: Tight tolerances ensure proper sealing and fit between cup and lid/liner.
Material Flow Simulation: Ensures uniform fill and minimal warping.
2. Material Preparation
Resin Drying: Some polymers may require pre-drying to remove moisture.
Colorant Addition: Masterbatch or liquid color can be added if required.
3. Injection Molding Process Steps
Mold Clamping: The mold halves close tightly to withstand injection pressure.
Injection:
Heated plastic (usually 180–250°C) is injected under high pressure (800–1500 bar) into the mold cavity.
Cooling:
Plastic solidifies inside the mold; cooling channels ensure rapid and uniform cooling.
Typical cooling time: 5–20 seconds depending on part thickness.
Mold Opening and Ejection:
Mold opens, and ejector pins push out the formed part.
Robotics or conveyors may assist in handling parts.
4. Post-Processing
Trimming: Remove any excess flash or gate vestiges.
Leak Testing (for cups): Ensures integrity of sealed volumes.
Quality Inspection: Visual, dimensional, and functional checks.
Packaging: Typically done in a clean, dust-controlled environment.
Key Quality Considerations
Wall Thickness Uniformity: To avoid warping and ensure strength.
Sealing Surface Flatness: Critical for leak-proof performance.
Material Compatibility: Must resist solvents and paints without degrading.
As a professional manufacturer and supplier, we provide high-quality products. If you are interested in our products or have any questions, please feel free to contact us.